
I love refinishing furniture. It's one of those activities that is just so incredibly satisfying. The progress is so obvious step by step and when it's complete? Oh, oh the joy! My friend Susi of The Felted Gnome Knows by Susio generously gave me a vintage chest that I believe belonged to her friend's mother. It had originally been wrapped in rattan woven fabric, but that had been removed some time long ago and left was the dried glue and broken bamboo molding. But the bones were beautiful, and it deserved to be treated with love and kindness. Here's the before:


My favorite tool for knocking off old heavy finish is a cabinet scraper. It's magic. It's a scraping blade attached to a handle and you just give it a lot of muscle and drag it across the wood to scrape off layer after layer. Not only is it a great workout, but it's also really effective. Here's the top of the chest after a few rounds of scraping:

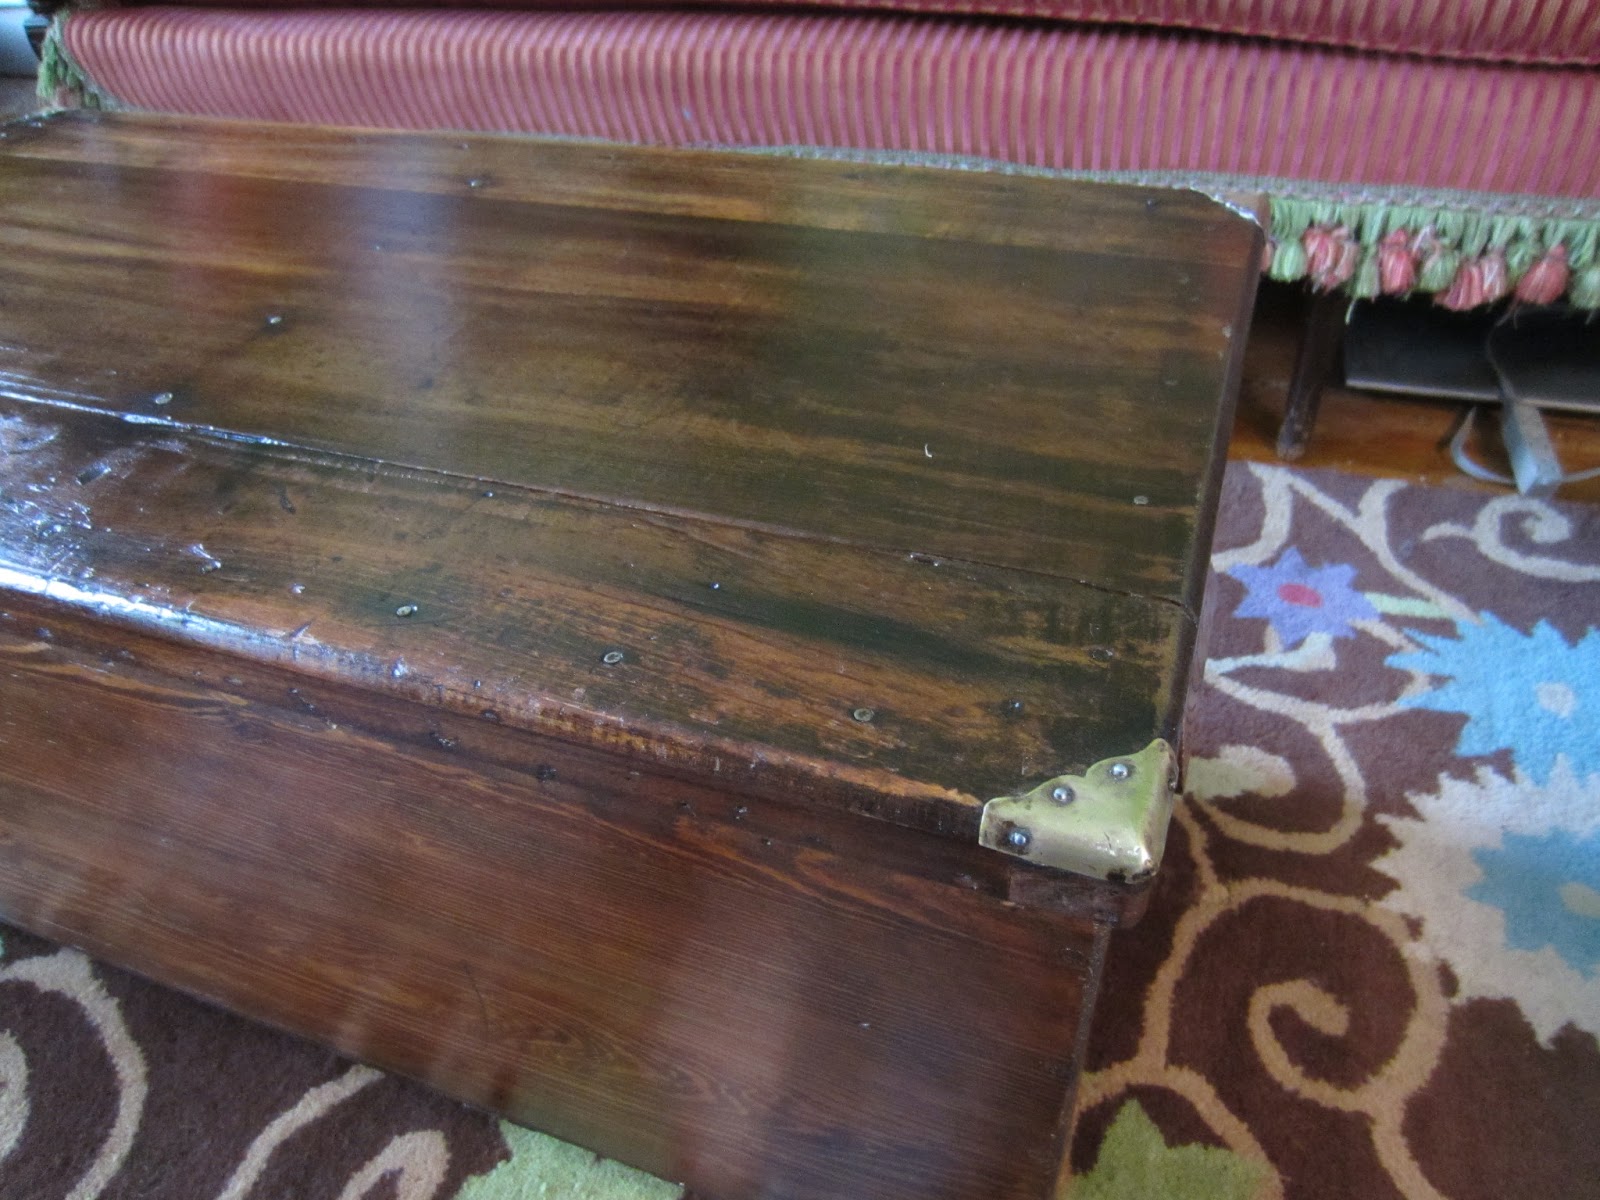
You can see the dark spots around each of the nails where the blade couldn't get to, but with a thorough follow up sanding with 150 grit sand paper, it was down to beautiful bare wood:


Whenever I refinish old pieces, I always start the restoration process with a few coats of danish oil to saturate the dry wood. It gives the wood more resiliency and it fills the pores so that it doesn't soak up the final finish unevenly. You can see the difference in the color just with the oil:


Now, bear with me a minute while I give you this safety announcement. It is incredibly important to wear a mask while doing any of the sanding, scraping, and finishing, and this is why:

Because the sides were originally covered, they used different wood on the sides than they did the top and the colors just did not match. I don't often use stain, but in this case it tied everything together.


It was about this time that I realized the bamboo molding just wasn't salvageable, so I took a pry bar and a nail remover and took it all off. I really dug the look of the nail holes left behind so I kept them, but they could have easily been filled in with stainable wood putty.
If I had been thinking ahead, I would have done the repair work before putting on the stain, but I was impulsive and wanted the immediate gratification of seeing the color, so at this point it was time to go back and complete those repairs. When I took off the bamboo from the bottom right corner, part of the bottom came off with it, so I added wood glue to the joint, and then used small nails to reattach it.


The other repair needed? Nothing big, just, you know, the two front feet :) They were really loose to start with, and after the pressure of the scraping, they both came off. They were held on with long rusty screws that wouldn't come out of the curved feet, so I used a hack saw to cut off the protruding parts and drilled a hole for a new screw:

With a shiny new screws in hand, I reattached the feet and then gave them a nice coat of stain to match the rest of the chest. Welcome back, feet!

At this point there was nothing left to do but give it a nice sealer coat, and I used my favorite water based polyurethane. I have the best success by putting on a light first coat, waiting for it to dry and then sanding it down with 220 grit paper. I repeat that a few times until I build up the finish to the shine I want. In this case, it took 5 coats to complete.
And...drum roll please... here's the finished chest!


I must say, I'm in total love with the result. Not bad for a few days work, a set of clothes so fully embedded with dust and stain that they're now only suitable for in-house projects, and a little sweat equity :)

Just gorgeous!
ReplyDeleteThanks, Lindsey! It was so much fun.
ReplyDeleteWow! I knew it could be great but this turned out fabulous! Great work of art my friend!
ReplyDeleteI'm so relieved you like it, Susi!
ReplyDeleteGreat re do! It's beautiful!
ReplyDeleteBeautifully done! Thanks for sharing your process step by step. I had no idea that you could put stain and a sealer over Danish oil--I thought it was a finish by itself. Love the result!
ReplyDeleteSo glad it was helpful! Danish oil can 100% be its own finish. It's fantastic for pieces that aren't going to get a lot of wear and tear. But it also makes a fabulous undercoat that re-hydrates really old, dry wood. The key to using it as an undercoat (and I speak from experience having not done this correctly...) is to give it 3 full days to sink in before adding any top coating. After that, finish away! If you're looking for something somewhere between danish oil and polyurethane for a finish, I love using tung oil. It hardens up nicely and is easy to refinish if you need to.
ReplyDelete