Showing posts with label upcycle. Show all posts

Friday, April 5, 2013

DIY Tutorial: Turn an Old Teapot into a Planter

It's no secret that I love plants.  I mean, I make planters as a major part of my living.  Plants make me happy.  They're living, breathing pieces of nature that can miraculously live inside our homes.  I don't particularly love, however, buying generic plant pots.  There are so many fabulous household items that would make such interesting planters, it's almost criminal not to use them!  Today I'll give you a quick and dirty tutorial on how to turn an old teapot into a happy home for a fern. 

What you'll need:
  • teapot
  • electric drill
  • glass, tile, and masonry bit
  • gravel
  • potting soil
  • fern (or plant of choice)
  • optional - center punch
I started with a small green teapot that had once had a lid and strainer attached, but they both rusted and I was at a bit of a loss as to what to do with a teapot with no lid.  Easy answer - planter!


It's a pretty simple process.  While you could just add gravel and soil and stick your plant on in there, it's SO easy to overwater a plant in a pot without drainage.  I've been growing and caring for plants for over 20 years and I still kill off plants without adequate drainage.  Trust me.  It's worth the time to drill the hole in the bottom.

The first step is to turn the pot upside down so that the bottom is facing you.  Make sure it's on a sturdy non-slip surface. The last thing you want to see is your pot flying out from under you and smashing on the ground!

Choose your spot for your hole close to the center and mark it.  This is where I use the center punch to leave a small indent so that the bit has something to grab onto, but you could also just use a marker and run the drill as slow as possible to get it started.  It will dance around for a bit before it starts digging into the surface, so keep it as straight up and down and steady as you begin.   


Step 2: Drilling!  Drilling through ceramics can run the gamut from super easy to tedious, depending on how hard the clay is.  I've drilled through terracotta in less than a minute, but for something like this teapot, it took me a good 45 minutes to get through.  Any time you drill through a surface that can crack - ceramic, glass, acrylic, etc - low and slow is the way to go.  You don't want to put too much pressure on the drill.  You just want to let it do its job.  And unless you want to bang your head against the wall in frustration, it's really, really important to use the right bit for the job.  In this case, I needed to get through a thick fired glazed surface so I chose a bit made for cutting glass and tile.


 As you drill, the material you're grinding up will clog the hole, so it's a good idea to stop every few minutes to rinse it under the faucet.  I also add a little water to the surface to help lubricate the drill and cut down on the amount the bit will heat up.  Remember low and slow?  Good.  Because this is where you'll probably get inpatient. 

Drill on.


Keep drilling, rinsing, and drilling...  It took about 25 minutes to get to this stage. 


 Finally I made it through!


Then, the fun part - PLANTING!! I always add a 1/2 inch or so of gravel to the bottom of my pots to make sure everything drains smoothly, and then I add potting mix halfway up the container.  Then place the plant in and fill around edges so that it's completely surrounded by soil.  

I clearly work very cleanly :)


I chose a favorite plant of mine - the asparagus fern.  Its fronds feel like feathers when you run your hand along them, and I loved the contrast of the sleek base against the softness of the fern.  

Always give your plant a good drench of water after planting, and unless you want a big ol' water logged mess, I recommend letting it drain for at least a 1/2 hour before putting it on a wood surface.  I chose the extremely technical "sitting it on top of a glass" option.  We stay classy in our household.    


It's always a good idea to give your plant a 24 hour rest out of sunlight so it can adjust to its new home, and once it's ready to make its appearance, follow the care instructions for your plant and enjoy!!!


Wednesday, November 16, 2011

Painting Changes Everything

Sometimes I just need to be more art than craft, you know?  I struggle with always wanting to create functional pieces while also dying to reconnect with my fine art passion.  The compromise?  Little paintings on chalkboards I've created from discarded cabinet doors I snagged at a local recycled building material store.  Here's my favorite so far:


It's currently part of the "Think out of the Box" show at the Block Gallery in Winooski, so if you'd like to see it up close or even, heck, buy it, head on down :)

Tuesday, September 20, 2011

More Skirts and a Sweet Blog Feature

Before I show the fruits of my skirt to purse making labors, I need to confess that I've wanted to answer the featured seller questions etsy so badly since I first read them.  AND NOW I HAVE!  And it was harder than I thought.  But I still enjoyed the process.  So check me out on the WAG blog!

Ok, now back to bags.  It's been a sew-a-thon here at Found Beauty Studio and I really dig the bags I've made lately.  So for your viewing pleasure, I submit for your approval more before and afters :)

Before:


And after (for sale on etsy):


Before:


And after:

Before:


And after (for sale on etsy):


Before:

And after (for sale on etsy):


I have more coming, as well.  I actually am most of the way through creating a bag from a pair of pants which has been quite the adventure!

Thursday, September 8, 2011

They Use to be Skirts, and Now They're Purses

I've discovered a few things as I embark on week three of running Found Beauty Studio full time.  I LOVE not working in an office, I LOVE not having set office hours, and most importantly, I'M SO MUCH MORE CREATIVE NOW!!!  Now that I have the time and energy to create, that's exactly what I'm doing.  And the first few bursts of new creativity are embellished purses made from upcycled skirts. 


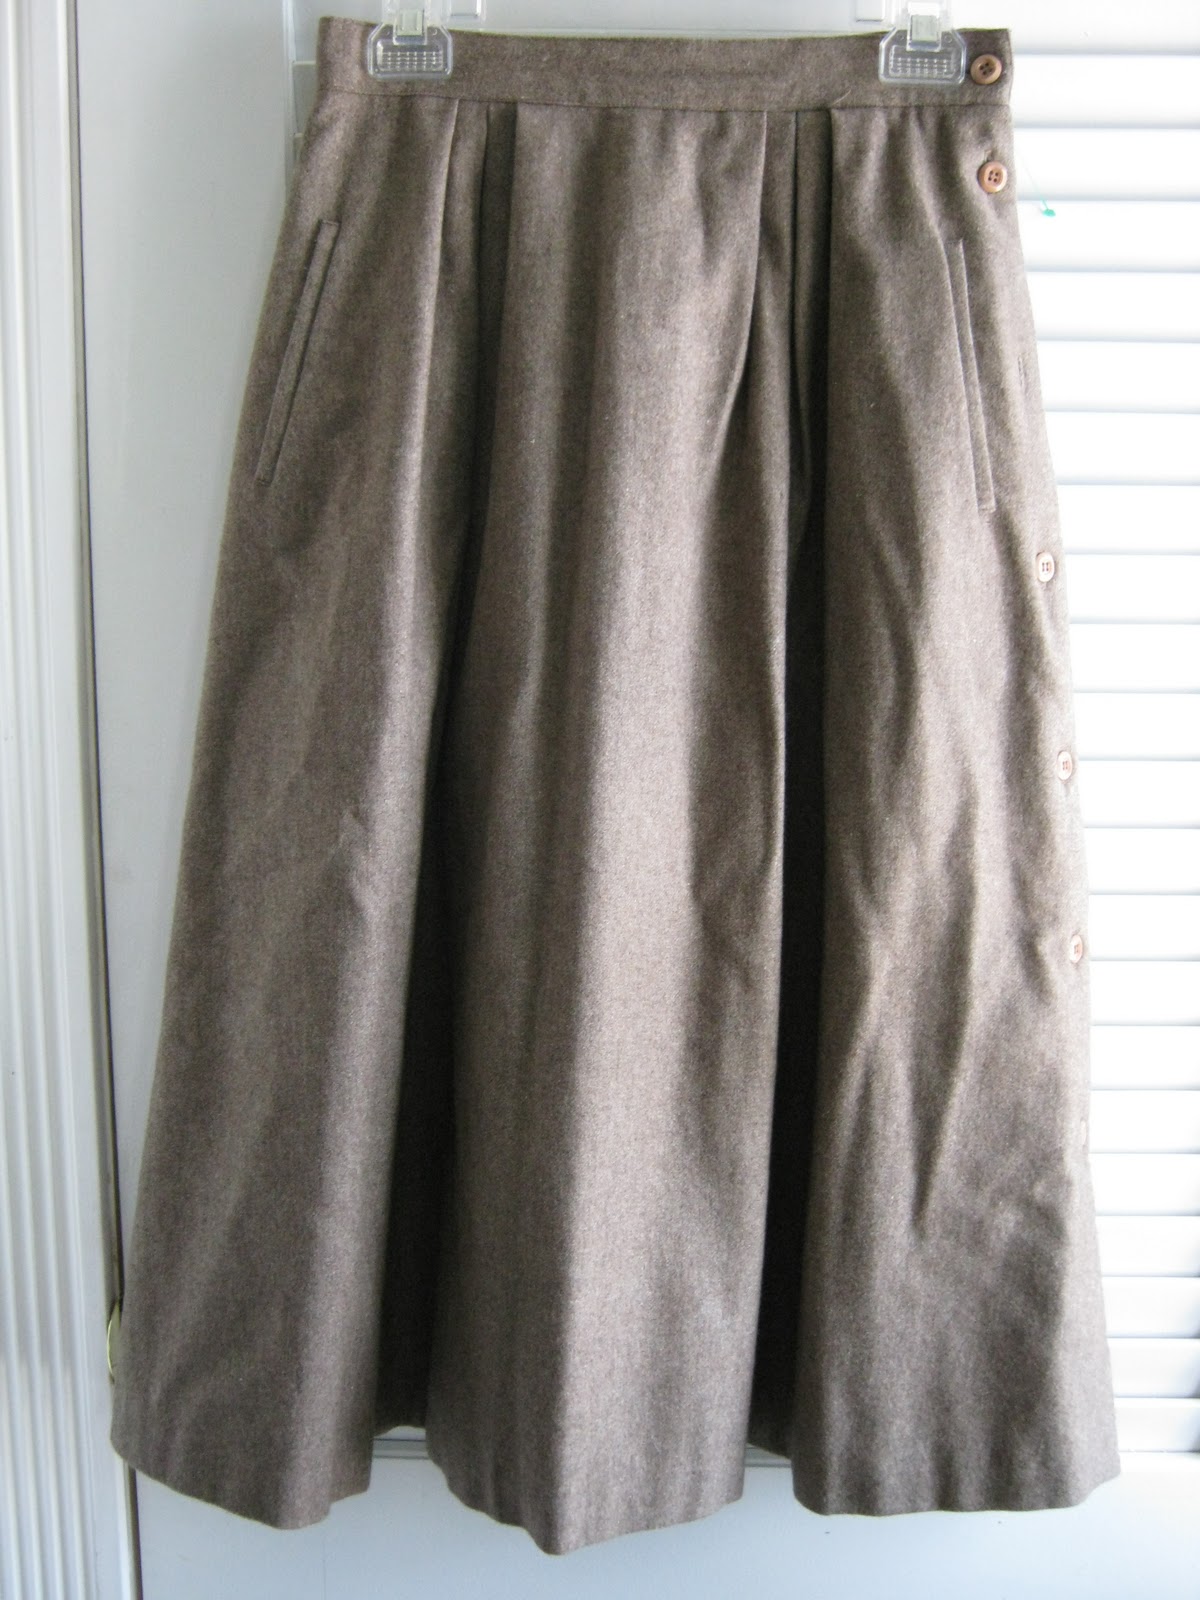
Before: 


And after!  I present my Ollie the Octopus bag :)


Before:


And after!  It's my Bike on the Go bag (and as of right now is still for sale on etsy):


Before:


And after!   Ribbon stripes studded with vintage buttons :)


Expect more to come.  I already have three more in various stages of progress...

Saturday, August 20, 2011

The March of the Toys....or Rather, Planters!

After a few weeks of painting, cutting (both toys and my hands), more painting, planting, and constant mothering, I have a bunch of new planters ready for Vergennes Day on Saturday!  The process is time consuming... once I finally find the toys at yard sales, thrift stores, and occasionally on ebay, they're thoroughly washed, a hole is cut in their plasticky exoskeleton, they're primed twice, given three coats of paint, sealed with mod podge, and then planted.  And since spray paint does not work (it will remain sticky permanently) all this is done by hand with a good ol' brush and tube of paint.  And whenever possible I grow my own plants, but I don't consider that part of this project.  That's an entirely different hobby/obsession...

Oh yeah, and all of this takes place in my living room, kitchen and porch...


But it's fun!  It's really just so darn much fun.  Finding the toys, choosing the paint, figuring out what plant will look good and thrive in each container,  I LOVE it.  So here are a few of my latest creations:


If you just can't get enough of planter pictures, and I know you can't, I have more on my flickr photostream!